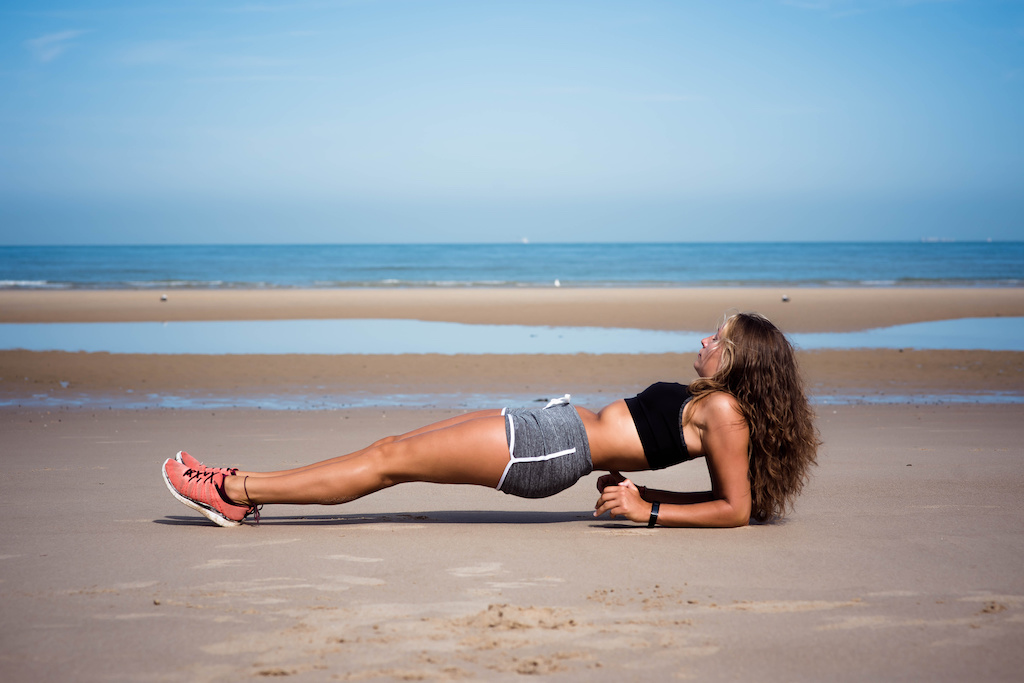
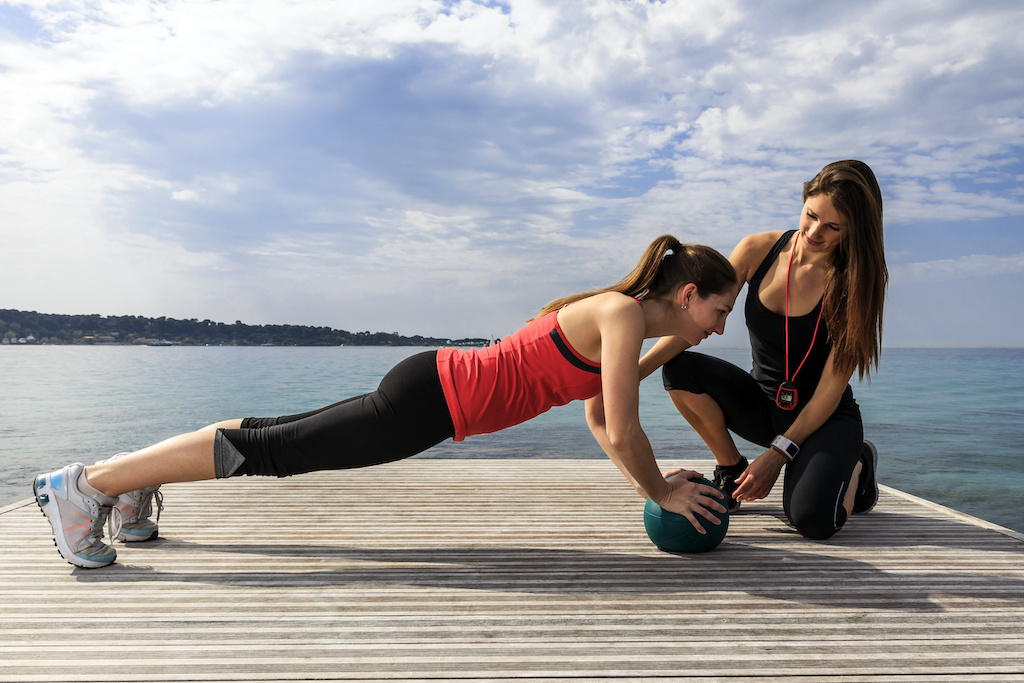
Planking exercises are perfect for quickly reshaping your figure and getting back into shape. To integrate them into your sports routine, challenge yourself for 21 days with a challenge tailored to your level and your goals.
6 Reasons to Practise Planking Exercises

If planking exercises are not yet part of your training plan, here are 5 good reasons to include them for good:
- Planking helps to achieve a flat tummy and reduce abdominal fat for an effect that combines aesthetics and health.
- Planking improves stability and balance by developing proprioception, i.e. the perception of one’s body in space.
- Regular planking exercises help to improve posture, particularly by strengthening the lumbar muscles.
- Different planking exercises can target all parts of the body: there’s no better way to quickly reshape your figure!
- Planking is ideal for gaining strength and improving sports performance. It doesn’t necessarily increase muscle volume: staying fit while being stronger, that’s their goal!
- Quick to perform, planking movements can be practised anywhere and without equipment: it is very easy to integrate them between two appointments or any time of the day!
To add them to your fitness routine, start by learning a few planking exercises, then do them every day, gradually increasing the length of the movements.
Everything You Need to Know to Master Planking

Planking exercises are isometric: the aim is to get into a precise position in order to mobilise certain muscle groups and maintain this state for as long as possible. They are, therefore, not necessarily practised in series like concentric muscle strengthening exercises. To improve the effectiveness of planking, it is the time held in contraction that should be lengthened, not the number of movements performed.
5 Planking Exercises for Different Muscle Groups
To create your planking challenge, these few positions targeting different muscle groups are a good foundation for your training:
- Superman – buttocks, spinal erectors, lumbar spine, hamstrings:
- Lie on your stomach and stretch your arms above your head.
- Raise your head, upper torso and legs at the same time, contracting the abdominals.
- Plank – rectus abdominis, obliques, transverse muscle, deltoids, biceps:
- Lie on the ground facing the floor, resting on your elbows and toes, legs stretched out.
- Align your pelvis, thighs, buttocks and heels, taking care not to arch, then contract your abs and buttocks.
- Lateral Plank – oblique, transverse, trunk muscles:
- Lie down on one side, then lift the pelvis off the floor to rest on one elbow and one foot.
- Keep your head in line with your body and contract your abs.
- Lateral Starfish – oblique, trunk muscles, transverse, hip abductor muscles:
- Position yourself in a side plank
- Simultaneously spread the leg and elbow on which you are not leaning to form the famous starfish and maintain the position.
- Wall Sit – quadriceps, abdominals:
- Standing with your back against a wall, get down as if you were sitting on an imaginary chair.
- Once your thighs are parallel to the ground and your shins at 90°, maintain the position
- Fix a point in front of you and keep your arms at your sides and your heels well supported on the ground.
For each exercise, release once the scheduled time has elapsed.
Good Habits to Adopt to Avoid Injury
When planking, these few tips will improve the efficiency of the movements while limiting the risk of injury:
- Concentrate on your breathing: holding your breath during muscle contraction is a common reflex when starting out. Remember to breathe well; you’ll last longer and the exercise will seem easier!
- Keep your head in line with your body to protect your spine and keep your back straight, neither arched nor rounded.
- Keep your fingers relaxed so you don’t get tense: this also makes movement easier.
- Distribute the weight of your body without resting it entirely on your arms to optimise the work of your abdominals.
Your 21-Day Planking Challenge

To set up a planking challenge over 21 days, follow the 5 exercises presented with a short recovery time between each one. Each day, increase the tightness of the contraction a little. Set aside one rest day per week. This is what your special 3-week training programme may look like (adapt the duration according to your physical condition and your goals):
- Week 1: 20 seconds for each exercise / 5 seconds more each day
- Week 2: Split the series in 2, start at 2 x 30 seconds per exercise and add 3 more seconds to each series every day.
- Week 3: Hold 2 x 1 minute per exercise on the first day / add 5 seconds per set each day
Check out our Fitness & Training page for more advice.
